
![Why Is My Reverse Osmosis Constantly Draining 8 Reasons With Practical Solutions [2022]](https://www.aquaprofessor.com/wp-content/uploads/2022/07/Why-Is-My-Reverse-Osmosis-Constantly-Draining-8-Reasons-With-Practical-Solutions-2022-1024x576.jpg)
Are you facing the problem of constant drainage and water wastage and have always wondered: “Why Is My Reverse Osmosis Constantly Draining?”
Then, understand this:
The Reverse Osmosis system always works under pressure, and its drainage mainly results from:
But, there are also many other reasons behind this drainage. Stay with me as I’ll show you 8 common issues that result in RO water drainage (along with their solutions!).
How Often Should A Reverse Osmosis Drain: Clearing The Basics
A Reverse Osmosis tank is usually drained at night before bed. It can make the tank refilled within the next morning. And this process is followed every two weeks.
The water drainage enables the reverse osmosis system to turn its tank’s water completely. As soon as you use a small portion of water from the tank, the system refills the same portion of water into it.
Thus, the tank never gets fully empty, and if it doesn’t get fully empty, you can’t refill the water inside the tank.
What this means is:
If your water requirement in a day is low (you live alone or your family is small) and the tank is not emptying anyhow, it is necessary to drain the RO tank every 2 to 3 weeks. By doing that, the whole water is renewed, and the water quality is ensured to provide you with safe drinking water.
Also Read: 5 Top Tankless Reverse Osmosis Systems
Here’s the worst part: At times, water drains abnormally [in which the tank’s water continuously keeps on running to drain] with a noisy gurgle.
Moreover, the primary concern is that since the water is not used for a few hours, it will stop running towards the drain. This situation arises when the reverse osmosis drinking water supply network washes out its waste while filling the tank.
You have to follow a systematic approach for troubleshooting your problem. The drain flow rate test helps you determine the amount of draining water in the RO.
Don’t worry as it is the time for…
Why Does My Reverse Osmosis System Run Out of Water: A Cheatsheet
| Reasons | How Common is the issue? | How easy it is to fix? | Troubleshooting in brief |
| Deficient Storage Tank Pressure | Very common | Super Easy | Re-pressurize the tank |
| Inlet Valve/One-Way Valve Is Broken | Very common | Easy | Test and replace the valve |
| RO Membrane Is Blocked/Damaged | Less Common | Medium | Flush regularly, replace the membrane |
| Water Pressure Below Required Limit | Common | Easy | Enhance the pressure/ install a booster pump |
| Voltage Switch Broken | Common | Easy | Replace the voltage switch |
| Tank Air Bladder Damaged | Less Common | Medium | Replace the tank |
| RO System Improperly Installed | Less Common | Medium | Recheck, dismount and reinstall it |
| Flow Restrictor Is Damaged | Less Common | Super Easy | Remove and replace the restrictor |
Also Read: Reddit Discussion on RO Constantly Draining
1️⃣ Deficient Storage Tank Pressure
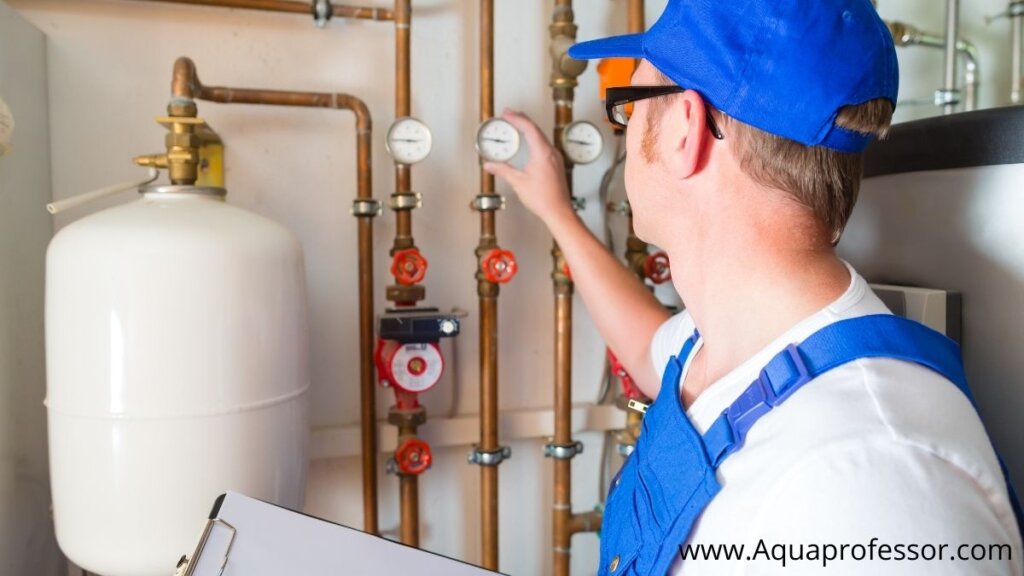
The pressure within the storage tank is the first thing one should examine in a reverse osmosis drinking water system constantly draining water. It is because the storage tank’s pressure issue acts as the culprit in most RO water-draining cases.
And, in case the problem is not due to the low storage tank pressure, you must check the automatic shut-off valve/ check valve.
I have suffered from the problem of the RO system draining at home and was a bit confused about how to deal with it; how to stop the excess water from flowing to the drain! After all, the gurgling noise of the draining water is very irritating. Also, the water’s odd or strange taste due to the drainage is intolerable. I tried many ways to detect and solve the problem but without success.
At last, I learned the actual reason and the hard way of solving the problem. I called a plumber, and he explained everything about RO water drainage.
What he explained to me was as follows:
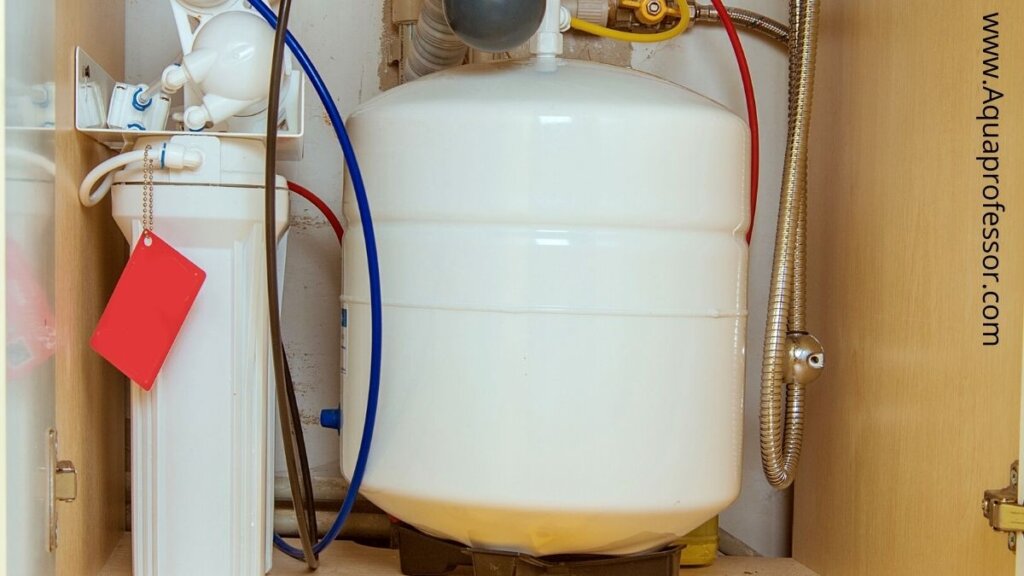
After passing through the RO membrane, water is usually stored in the RO storage tank. The reverse osmosis drinking water system comprises a water pump that generates high pressure, pushing the water through the RO membrane.
The system keeps running smoothly as long as the pressure within the storage tank is maintained. Also, the air pressure within the tank, when it is empty, must be between 6 – 8 PSI.
Whenever the PSI levels of pressure inside the tank drop too low, it results in water drainage of the RO system. You should test the pressure with a pressure gauge, and if the PSI of pressure is lower than 6, you are required to increase the pressure within the tank. You can also test the feed pressure with the same device.
To troubleshoot the deficient storage tank pressure problem, I repressurized the tank using 2 tools –
How To Fix It?
Follow step by step:
Also Read: The Honest Comparison Between SpringWell and Pelican Whole House Filters
2️⃣ Inlet Valve/One-Way Valve Is Broken

The water inlet valve or the ASO (Automatic Shut-Off) valve allows pure water or fresh water to enter the tank. This valve only enables pure water to pass within the pressure tank. As the RO tank becomes full, the water inlet valve gets a trigger to stop the water flow, and hence, it gets closed.
As per my experience, a fault in the water inlet valve may make it stay open. As it stays open, the unwanted and additional pure water keeps flowing into the reverse osmosis drinking water system. Due to the large discharge aperture, pure water travels very quickly into the wastewater channel.
One-Way valve, also known as the Check valve, works by preventing the rejected water of the RO from draining. With the breaking or damage of the check valve, the water gets pushed within the drain pipe due to the water pressure accompanied by the strange noises of draining water. As a result, water continuously drains on.
To detect these valves problem, do the 1st valve checking test as under:
In such a case, you must go for the 2nd valve checking test:
After the plumber told me about this method, I tested my RO system valves in the same manner.
How To Fix The Problems?
To fix the problem of the broken ASO valve:
3️⃣ RO Membrane Is Blocked/Damaged
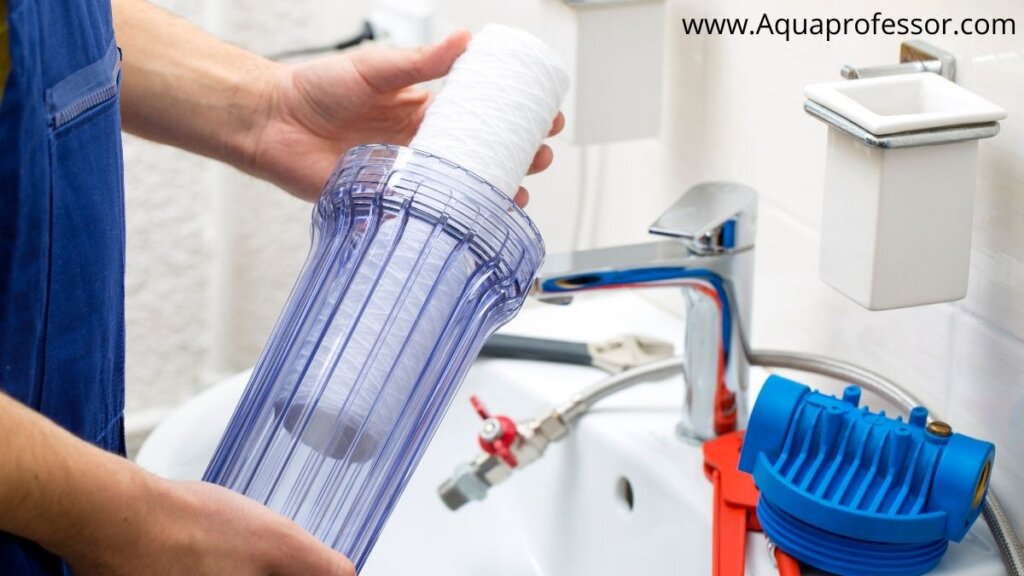
The reverse osmosis membrane works by filtering unwanted residue to remove the bad taste of water. So, debris, dirt particles, contaminants, and other impurities can accumulate on the membrane over time, which eventually results in its blockage.
The clogged filters make it difficult for pure water to pass through them. Instead, the water directly flows out to the system’s drain pipe. Clogged filters or damaged membranes can thus make the entire system fail.
How To Fix It?
You can consider any of the following solutions:
4️⃣ Water Pressure Below Required Limit
Feed water pressure of the RO below the required level is another reason for water drainage in an RO system. If the pressure of water drops to 40 PSI or below that level, this problem arises.
How To Fix It?
5️⃣ Voltage Switch Broken
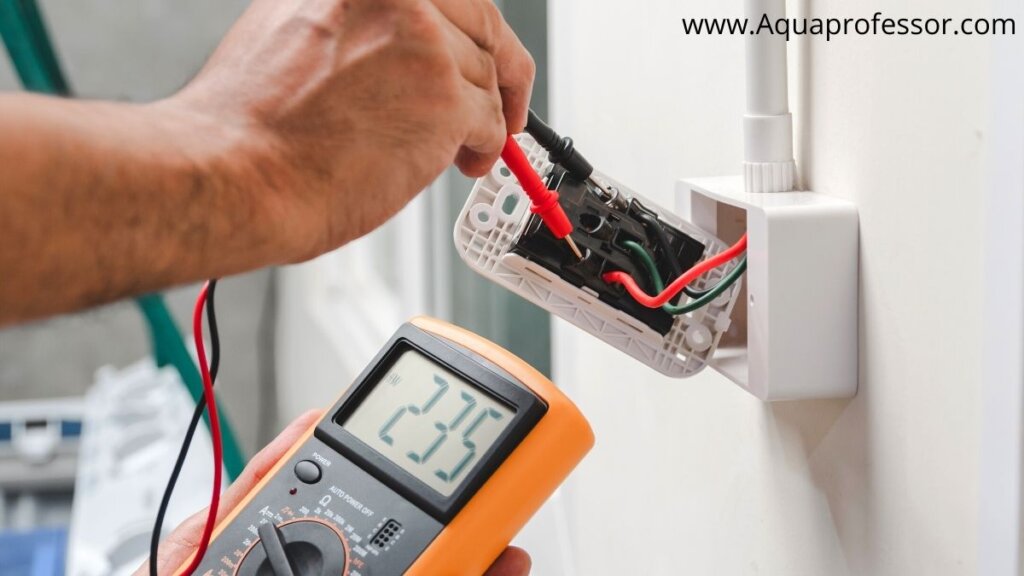
Draining water in RO may also happen due to breaking the filter’s high-pressure switch. The RO system functions by generating clean water as well as wastewater continuously.
If it is usually working, the high-voltage switch turns off automatically, and the power gets disconnected as soon as the machine is full of water.
However, when a problem arises with the RO’s high-pressure switch, the system keeps generating wastewater with the machine functioning. Since the storage bucket’s water doesn’t get filled, it flows back within the port of wastewater.
How To Fix It:
6️⃣ Tank Air Bladder Damaged
Even if the storage tank’s low pressure is detected after fixing it, you may not solve the draining problem. After some days, again water may drain from the RO tank. If the case is so, test the air bladder to see if it is damaged.
It may happen that due to:
Important to note:
If the reason is a damaged air bladder, very little or no water will stream, even when the RO tank is full.
To Test a Damaged Air Bladder:
How To Fix It:
7️⃣ RO System Improperly Installed

Sometimes, the slightest misplacement in the installation of the RO unit may result in significant issues like water drainage. It is always better to install it by hiring a professional installer than doing an improper installation yourself.
And, in case you don’t wish to hire an installer for the job, follow the product’s instructions word by word during your device installation.
How To Fix This Problem?
8️⃣ Flow Restrictor Is Damaged
A flow restrictor gauges how much water drains from the tank and when. When the flow restrictor wears out or gets damaged, the high-pressure water streams quickly into the drain. As a result, the system’s pressure reduces.
How To Fix This Reverse Osmosis Troubleshooting Problem?
Other Common Problems In RO Systems [Smart Troubleshooting]
| Reasons | How Common Is The Issue | How Easy To Fix | Troubleshooting In Brief |
| Reverse Osmosis tank is not filling up | Common | Easy | Increase your entire home’s internal pressure/ reduce the pressure of the tank |
| High TDS In RO Water | Less common | Medium | Apply pressure to the influent water stream, and reverse the process of natural osmosis |
| No water going down the drain | Less common | Easy | Increase the water pressure, increase the water volume |
| System/Faucet Leaking | Less common | Medium | Tighten all connections; the tubing must be pushed into their ports and the drain saddles and valves. |
1️⃣ Reverse Osmosis Tank Not Filling Up
The extremely high pressure of the tank or extremely low pressure of the feed water results in the RO tank not filling up.
The normal pressure of the empty tank must be within 6 – 8 PSI. You can test the pressure of the tank by using a standard bicycle gauge.
How To Fix It?
2️⃣ High TDS In RO Water
High TDS in RO water indicates unpurified water, which is a critical problem in an RO system. This problem happens because of any of the following reasons:
How To Fix It?
3️⃣ System/Faucet Leaking

A leaky faucet/system causes water to drip. It indicates that either one or more system parts are loosely fitted.
How To Troubleshoot It?
4️⃣ No Water Going Down The Drain
Sometimes, the slow water flow rate of the RO system gives us much stress. And the same tension doubles when no water goes down the drain at all. It results in an empty RO drain with no drain water.
The reasons include:
How To Fix The Slow Water Flow Or No Water Flow Issue:
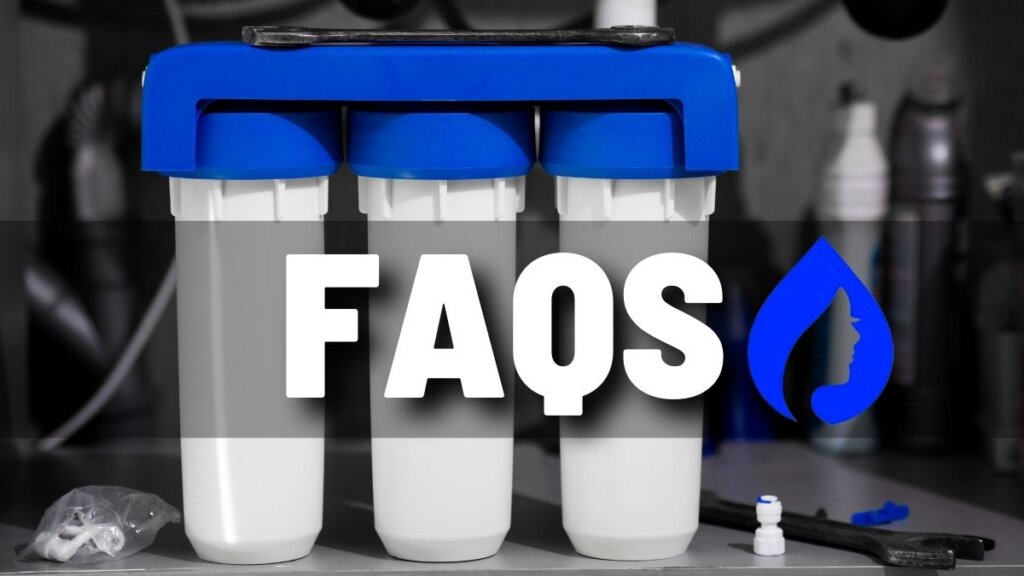
Why Does Reverse Osmosis Drain Water: FAQs
How long should a reverse osmosis drain?
RO system usually drains running water during the production process. However, when zero water usage happens even after 3 to 4 hours of the passage of time, no draining of water happens anymore.
How do you check RO membrane is working or not?
To check a RO membrane’s workability, one must use a decent-quality TDS meter (a conductivity tester). It will show if the membrane is in working condition or not.
How do you know when to change reverse osmosis filters?
In general, you must replace the reverse osmosis filters after every twelve months.
Why is my water filtration system leaking?
Your water filtration system may leak due to the following:
1. Tube not wholly inserted into its plug
2. Quick-connect fittings issues such as Missing lock sleeve
3. Tightening the housing/ cap too tightly/ too loosely
Why does my faucet drip after I turn it off?
Faucet leaking happens because either one or more parts of the system are loosely fitted.
Adarsh is a Health & Nutrition Sciences graduate with expertise in environmental health. He is associated with ventures like Glacier Fresh Filter and Simpure Filter Systems. Through Aqua Professor, he intends to provide helpful information to every home to help them make smarter decisions.
