
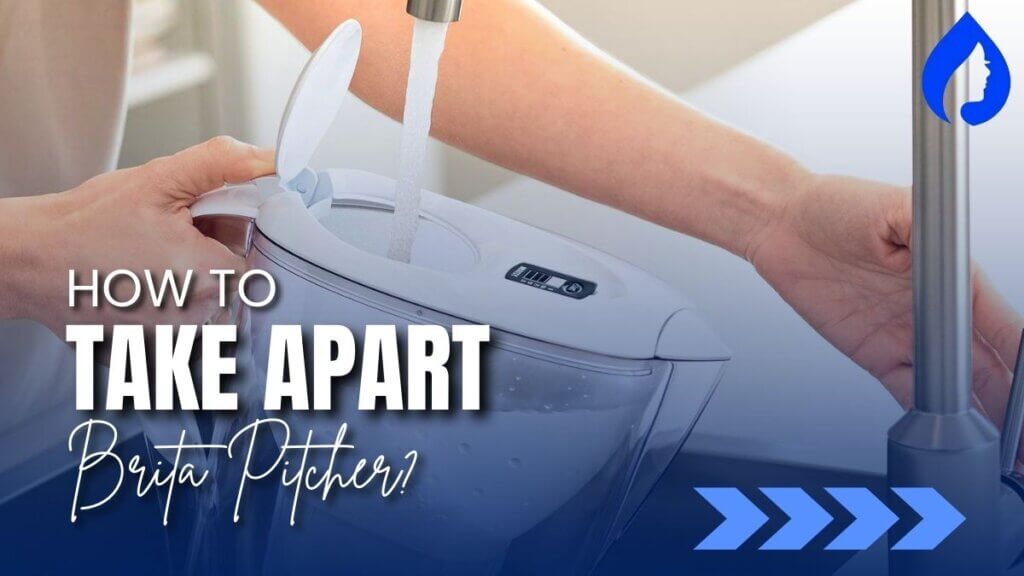
Here’s how to take apart Brita pitcher for cleaning:
Empty the pitcher, open the lock on the filter’s top and remove the white container where the filter sits.
Brita pitchers are indeed ANSI, and NSF-certified to eliminate harmful contaminants.
But, just like any other water filter, they get dirty inside (with dissolved solid particles) and require routine cleaning to avoid the unwanted growth of mildew and mold inside it.
Want a detailed guide on how to take apart Brita Pitcher for cleaning? Great! We promise a simple, to-the-point guide to help you complete your work in record time.
How To Take Apart Brita: Step-By-Step Guide

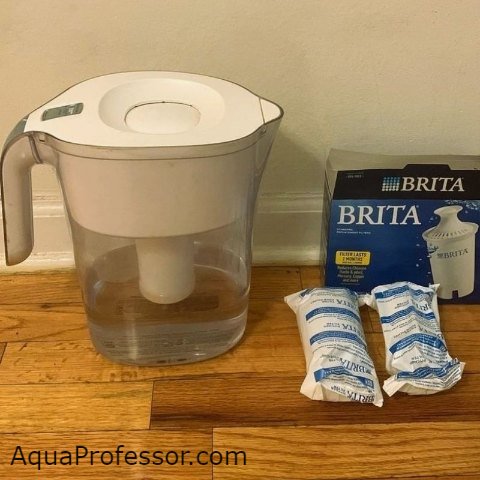
A Brita Pitcher is so designed that you can quickly separate each component. It comprises two separate containers:
Also Read: Why Is My Brita Filter So Slow
Though it’s not that hard to open a Brita Pitcher, many people fear breaking the device while opening it.
I tried my hand at successfully opening the Pitcher after failing five times, so I am sharing the steps that will help you open your Brita Pitcher very easily.
Also Read: Official Brita FAQ Page
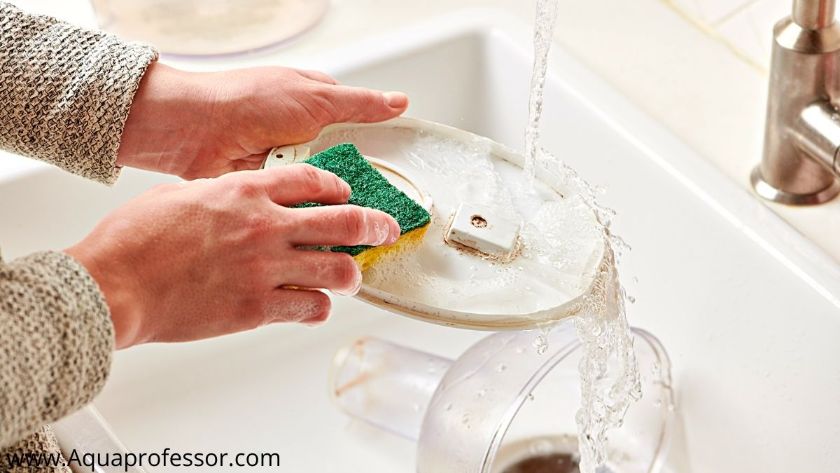
As the cleaning process gets completed:
Also Read: We Tested Zerowater Filter For Flouride Removal
How To Clean a Brita Pitcher: 5 Smart Tips [Maintainance]
Wanna know the ways to ensure the longevity of your Brita Pitcher? Then, here, I am sharing some smart cleaning tips to maintain Brita Pitcher efficiently.
Also Read: PUR Water Filter Light Troubleshoot
Also Read: 7 Natural Ways To Test pH of Water!
How To Take Apart Brita Pitcher FAQs:
How long does a Brita filter last for one person?
A standard filter of Brita or Brita filter pitcher model, as claimed by Brita, lasts for nearly two months.
So, you need to change the Brita standard water treatment system every two months or after it has served you nearly forty gallons of water.
Also, the filters of Brita Pitchers are three times more long-lasting than the normal filters.
And it reduce the amount of chlorine, lead, cadmium, particulate matter, and mercury very effectively from your drinking water, thus improving its taste and odor.
How To Prevent Mold In Brita Pitcher?
To prevent green mold in your Brita Pitcher, take out the filter to dry. Mold grows in the presence of oxygen, heat, and moisture, so keeping it away from sunlight actually helps. So, keep it inside the refrigerator.
Every time you handle the filter, wash your hands with soap. Clean your Brita Pitcher at least once a month with mild dish detergent to prevent mold growth.
What happens if you don’t replace Brita filter?
If you don’t replace your Brita filter on time, the contaminants, including bacteria, might not get eliminated, making your water polluted and eventually harming your health.
So, changing the filter on time is crucial to stop the unfiltered water from coming through the machine.
After replacing the filter, a stream of water filled with carbon dust may come out at first, but eventually, the tap water becomes contamination-free.
How long does it take a Brita pitcher to purify water?
The ANSI or NSF industry-standard certified Clean Pitcher of Brita/Dispenser Filters takes approximately ten to fifteen minutes to purify water.
Many customers have also confided that their machines have filtered the contaminants faster than expected.
The Brita Pitcher’s faucet filter instantly purifies water from one’s tap.
Can I put lemon in my Brita pitcher?
You can put lemon or other fruit pieces inside your pitcher and some ice cubes to make and serve the low-calorie beverage.
This beverage is healthy, and it is fun to have it. However, it may complicate the cleaning procedure as lemon leaves residue.
Hence, we advise you to be cautious when using lemons.
Here is what Brita said when I asked them the same:
“Thank you for contacting us.
We do not recommend adding flavor or other substances to water in your Brita pitcher. The filter would likely remove the flavoring as it cleans the water. In addition, the flavoring absorbed by the filter could clog it and make it unusable.
As an alternative, you could filter water with your Brita pitcher, then use a household pitcher to mix your filtered water with fruit, herbs, or other flavors.
We hope this helps. Please let us know if you have any other questions or
concerns.
Sincerely, ****
Brita Consumer Care”
Adarsh is a Health & Nutrition Sciences graduate with expertise in environmental health. He is associated with ventures like Glacier Fresh Filter and Simpure Filter Systems. Through Aqua Professor, he intends to provide helpful information to every home to help them make smarter decisions.

inside the handle of this pitcher turn black, how do I take it apart the handle , not the pitcher but the inside of the handle of the pitcher, mold captured there we can’t reach, Thank you
To take apart the Brita pitcher’s handle, you can see this video: https://youtu.be/kph4_qGhhwY. To remove mold in the Brita pitcher, follow these steps:
1. Take apart the filter element in the pitcher (see the article and the video link)
2. Soak the remaining pitcher in 1/4 bleach per 1 gallon of water for an hour
3. Rinse with a solution of a few drops of dish soap in warm water.
4. Let the pitcher dry.
5. Install a new filter element, and you are good to go!
How to remove the handle cover
Hi Juan, You can use a screwdriver to push it down the Brita handlebar and the cover out.
You can watch this video for reference: https://youtu.be/kph4_qGhhwY
I have a large Brita tub with a spout/valve near bottom. I disassembled the valve to clean, but it no longer releases water. How do I fix it?
Hey Chris,
Trapped air bubbles can cause Brita tub to not release water. Soak the pitcher in cold water for 20 mins, rinse, and reinstall the filter to see if it’s releasing water again.
Hope it helps!
I changed the filter but the light is coming on red when I pour the water.
Hey Sharon, you need to reset the indicator after you change the Brita filter. Check this video out: https://youtu.be/fJaMvb9wf64