
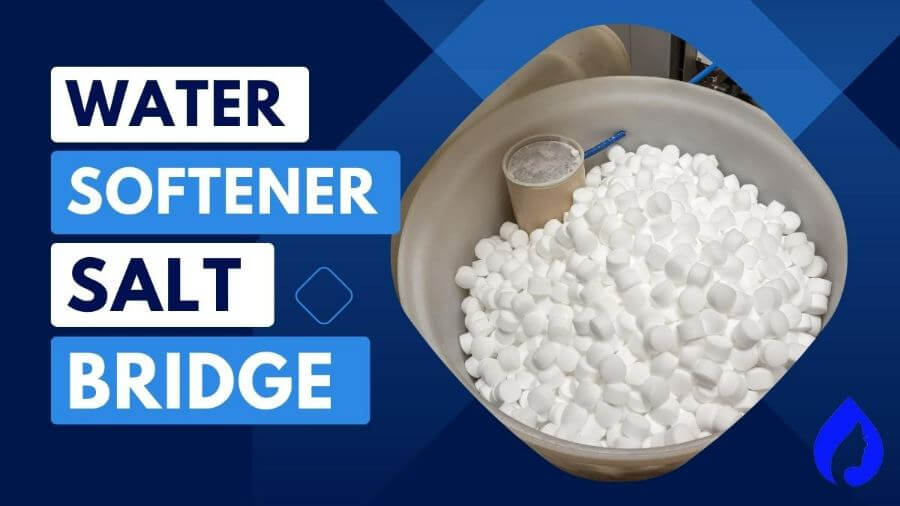
Do you often find that your brine tank is consistently full? Are you not getting soft water as expected? You may be facing a common issue known as a salt bridge.
This problem occurs when a hard crust or bridge forms in the brine tank, preventing the salt from properly dissolving and regenerating the resin beads in your water softener system.
In this article, we will delve into the causes of salt bridges, how they impact your water softener system’s performance, and provide practical troubleshooting steps to help you resolve this issue effectively.
🤔What Causes a Salt Bridge in a Water Softener?
| Reason | How To Fix |
| High Humidity | Avoid placing softener in humid conditions; use a dehumidifier |
| Poor Quality Salt | Use high-quality evaporated salt pellets |
| Brine Tank is overfilled | Leave at least ⅓ brine tank empty always |
Also Read: Why Is My Water Softener Full Of Water
💦High Humidity
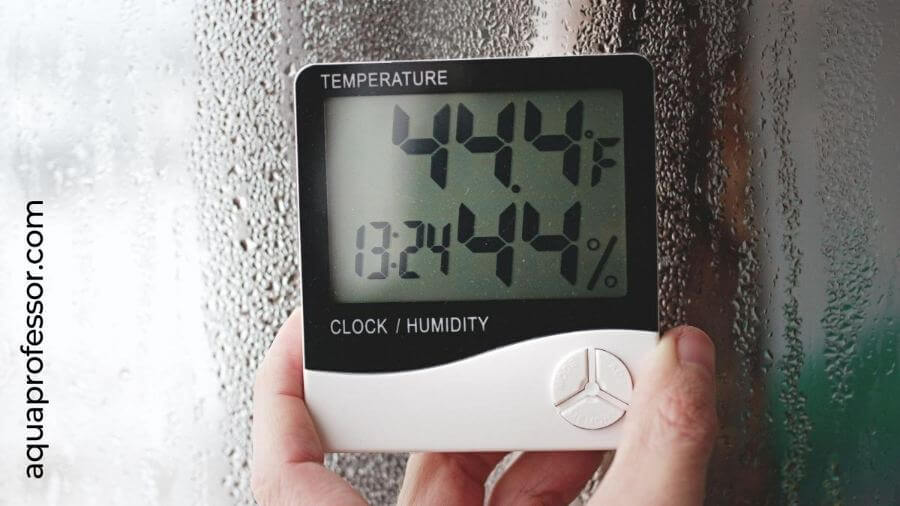
One of the leading causes of salt bridges in water softeners is high humidity in the area where the softener is installed. The moisture in the air can cause the salt to clump together, forming a solid bridge that obstructs the brine flow.
It is essential to avoid placing the softener in humid conditions to prevent this. If the area is naturally damp, using a dehumidifier can help reduce high relative humidity and minimize the chances of salt bridging.
🧂Poor Quality Salt
Using low-quality or impure salt can contribute to softener salt bridge formation. Certain types of salt, such as rock salt or pellets with high impurity levels, are more prone to clumping and creating solid bridges.
Hence, it is recommended to use high-quality evaporated salt pellets specifically designed for water softeners. These loose salt pellets are less likely to form bridges and ensure proper regeneration of the resin beads.
🌊Brine Tank is Overfilled
Overfilling the brine tank can also lead to salt bridging. When the salt tank is completely filled with salt, the salt can form a solid mass, restricting water flow during regeneration.
So, always leave at least one-third of the brine tank empty to avoid this. It allows proper dissolving of the salt and prevents the formation of salt bridges.
🤷How Do You Remove a Salt Bridge From a Water Softener?

First things first:
We need to confirm the presence of a salt bridge in your water softener, so you must look out for the following signs:
Also Read: How To Fix Softener Constantly Draining
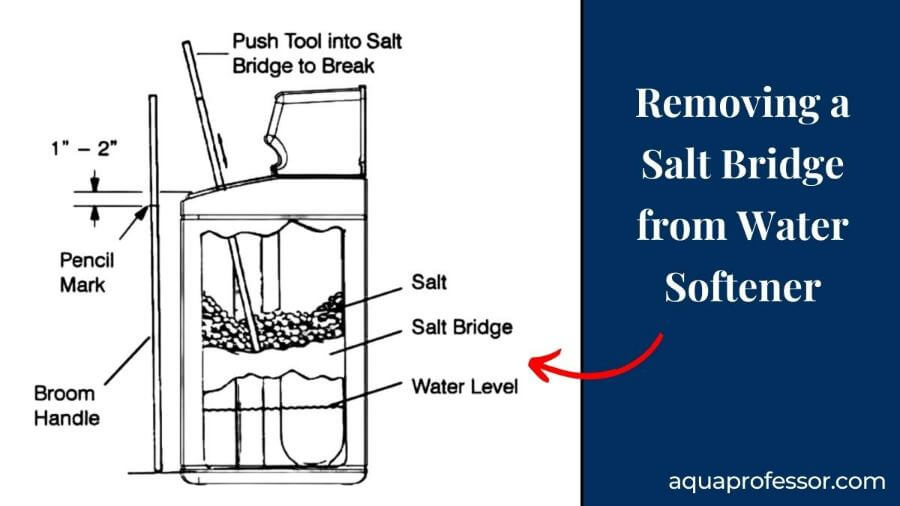
🎯Steps For Water Softener Salt Bridge Removal
Things You Need:
Steps to Follow:
Tips/Warnings:
Also Read: Too Much Salt In Water Softener Symptoms
🩹Preventing Salt Bridges in a Water Softener
To prevent salt bridges from forming in the salt tank of your water softener, follow these tips:
Also Read: Can Your Water Softener Run Without Salt?
☑️Water Softener Salt Bridge: FAQs
Why is my water softener not using salt, but there is no salt bridge?
Your water softener is not using salt without any salt bridge because:
1. A malfunctioning control valve is not initiating the regeneration process properly.
2. An incorrect salt dosage setting prevents the softener from drawing the necessary amount of salt for regeneration.
3. A faulty brine tank float assembly or a clogged injector could also hinder salt dissolution.
Fix the malfunctioning control valve, input the correct salt dosage setting, repair the faulty brine tank float assembly, and clear the injector for clogs to fix the problem.
Why is there a salt dam at the bottom of my water softener?
A salt dam can form when the salt pellets become compacted and create a solid mass at the bottom of the brine tank. It can restrict water flow and hinder the softening process. Breaking the salt dam and adjusting the salt dosage can help resolve the issue.
Why is my water softener salt not going down?
Your water softener salt level is not going down because of the following:
1. Salt bridging or,
2. A malfunctioning float assembly, or
3. A clogged brine line.
As detailed above, remove the salt bridge using a broom handle and wooden dowel. Adjust or replace the malfunctioning float assembly and clear brine line clogs to troubleshoot the other 2 reasons.
How to dissolve hardened salt in a water softener?
You can dissolve hardened salt by adding hot water to the brine tank and gently stirring to break up the salt. It may take some time for the salt to dissolve fully, but regular maintenance and preventive measures can help prevent salt hardening.
Why is there water on top of the salt in my water softener?
There is water on top of the salt in your water softener because of a malfunctioning control valve, an overflowing brine tank, or excessive humidity.
Check the valve settings, ensure proper water drainage, and address any issues with the tank, the water supply, or the environment to prevent water accumulation.
Sayan understands that access to clean water doesn’t have to be costly.
He strives to provide knowledge of water purification techniques in the simplest way possible so that we can lead a healthy life without breaking our bank.
