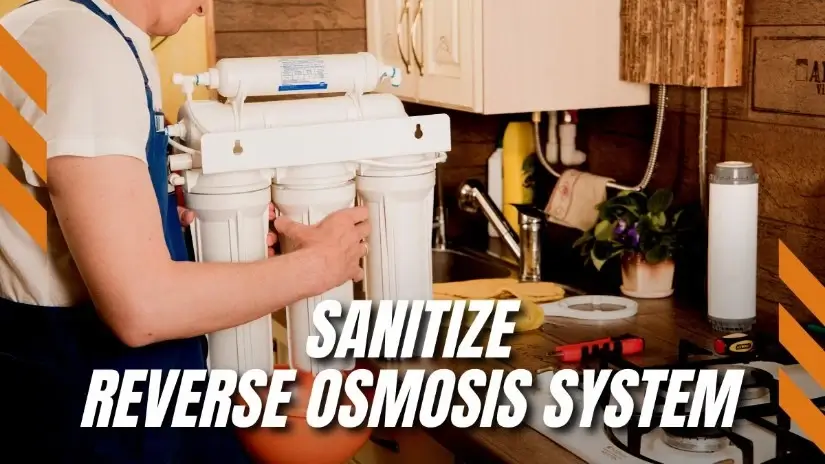
Today, we will dive deep into the process of how to sanitize the reverse osmosis system. We will also look into the processes involved in disinfecting an RO membrane and RO tank.
You need just a few drops of any NSF-certified sanitizer, and you are good to go. Sani-System is one of these certified sanitizers (liquid concentrate), which is quite popular.
If you don’t get one, you can choose any unscented bleach (three tablespoons) available at your home.
So, let us begin!
? Sanitizing The Reverse Osmosis System
You should thoroughly disinfect a reverse osmosis system at least once a year. If you think you might forget, carry out this cleaning process whenever you replace the filters.
If you already have a system specialized in disinfecting whole house water using ultraviolet radiation, you may not be required to clean the reverse osmosis drinking water system frequently.
However, since the process is straightforward and hassle-free, you can sanitize the system to ensure that bacteria are not growing inside. The process is not labor-intensive and can thus be carried out without a professional plumber.
Not regularly sanitizing the reverse osmosis systems can result in a low flow rate, clogged membrane, bad smell and taste, and some severe health problems (because of bacteria).
Also Read: Top Waterdrop Filters
? Material Required
? Step-By-Step Guide
STEPS
Step 1
Start the procedure by washing your hands properly. You can wear gloves as well. Also, make sure that the countertop/working area is completely sterilized.Step 2
In case there is dirt or mold on the outer surface of your RO system, use a surface cleaner spray, which is proficient at removing mold and bacteria.Step 3
Make sure that you disconnect the main water line from the system. In case you have linked your refrigerator or ice maker to the RO system, delink the connection. It will ensure that your kitchen does not overflow during the cleaning process.Step 4
Now, by turning on the RO faucet, let 100 percent of the water flow out from the water storage tank. When the tank is emptied, make sure to close the faucet again.Step 5
Using a wrench, open up the pre-filter housings and remove all the pre – filters and the membrane. Once you bring out the filters, make sure to close the filter housing tightly. Use silicone lubricants to fix the filter housing O-rings.Step 6
In case you are going to replace the water filters, you can either throw them away or make the best out of waste (if you’re creative). And if you are going to use the same filters, keep them aside on a sterile surface.Step 7
Now is the time to add the entire packet of the approved non-bleach Sani- System sanitizer or three tablespoons of chlorine-based disinfectant to the sediment filter housing. Attach the housing back to the system and turn on the main water supply.Step 8
At this stage, water with sanitizer will carry along all the contaminants or bacteria present in the system. You have to close the faucet so that the sanitizer reaches all the parts rather than escaping. If you find any leak points, tighten up the sediment filter housing.Step 9
Let the water stay inside for at least 15 minutes. After this, allow the water to escape by opening the faucet. At this point, you need to shut off the cold water supply running to your RO.Step 10
You need to repeat the process of draining and refilling at least two more times. So, open the supply and close the faucet and let the system fill with water. Once done, do vice-versa and drain off the water.Step 11
At this stage, you need to put back the filters and the membrane. Check for the final time if there is any leakage.
Also Read: Waterdrop G2 vs G3 Systems
? How To Sanitize Reverse Osmosis System Tank
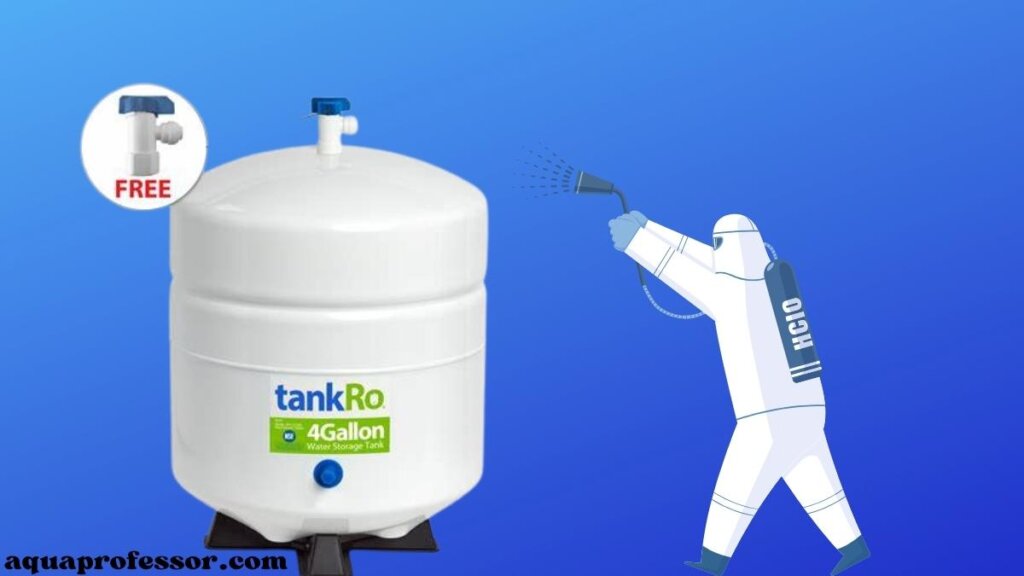
So, sterilizing the RO storage tank is something I do a little more often than the RO system; I do the cleaning of the tank twice a year.
It has been recently found that bacteria can grow inside the water storage tank, so it would be beneficial to clean it more frequently. The entire process takes only 15-20 minutes.
If you follow the procedure of sanitizing the RO system, you need not clean the storage tank separately again. But, it might happen that you suddenly find a strange smell in your RO purified water. In such a situation, you may want to clean the tank.
If you do not sterilize the reverse osmosis storage tank, some harmful bacteria and microorganisms may start growing inside the untreated water tank, resulting in an adverse effect on health.
Also Read: Aquasana vs. Berkey Water Filters
? Material Required
? Step-By-Step Guide
Let us look at the steps involved in the sanitizing procedure of the reverse osmosis storage tank:
STEPS
Step 1
The first step is to pause the flow of the cold water supply line, running to the tank. You need to empty the entire system by opening the tap.Step 2
Now, you have to turn off the feed water valve of the tank and disconnect it from the system. Also, remove the pipe that connects the tank to the system. Make sure that the pipe does not have any water inside it.Step 3
Add ½ a tablespoon of disinfectant to the pipe using a sterilized syringe or a dropper. Connect the pipe back to the tank, ensuring no spillage of the odorless bleach.Step 4
After this, turn on the pressure control valve and the feedwater supply. Keep the water faucet off so that water doesn’t drain off right away. Find out if there are any water drippings.Step 5
Let the water stay in for a few minutes to kill bacteria. After this, turn on the tap and turn off the water supply. Let the water with bleach flush out.Step 6
Refill the tank again and drain it off. Do this step two times to ensure that there is no smell of bleach.
Also Read: PUR Water Filter Troubleshooting
? Sanitizing the RO Membrane
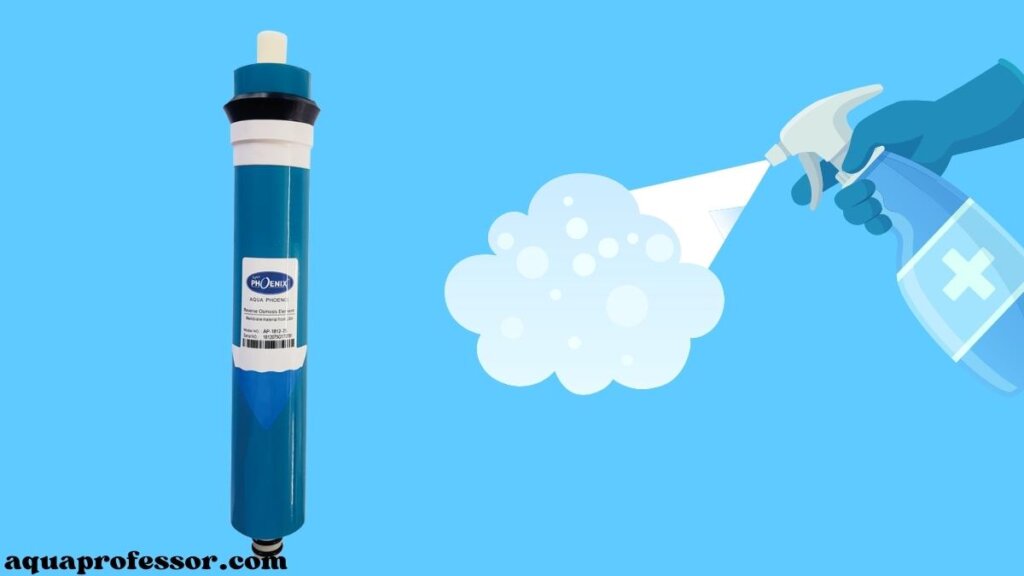
When we talk about the sanitization of a reverse osmosis water filtration system, it is essential to consider disinfecting the RO membrane.
You can clean the membrane while waiting for the Sani-System to circulate through the filtration system. The entire process is no longer than 20 minutes.
Although it is recommended to clean the membrane regularly, it should not be considered a substitute for replacing it. The membrane should be replaced after every guided interval, no matter what.
? Material Required
? Step-By-Step Guide
So, without any further delays, let’s discuss the steps involved in this process:
STEPS
Step 1
Wash your hands and wear gloves. Also, wear a protective eye shield for extra safety.Step 2
Halt the water flow and take out the RO membrane from the membrane housing.Step 3
You can buy any chemical cleaner meant for disinfecting membranes. All you have to do is put some water in a plastic tub and the recommended amount of chemical cleaner.Step 4
Now, immerse the RO membrane into the cleaning solution. It should be completely submerged. It should be allowed to stay in the liquid till the time suggested by the manufacturers.Step 5
After this stage, remove the membrane from the sanitizing solution and wash it under running water for a few minutes, to remove the chemical deposits.Step 6
Finally, you have to place the RO membrane back into the housing. Next, you need to reconnect and resume the water supply and allow the water to drain out for around 20-30 minutes. This step ensures that all the chemicals are expelled during the draining process.
Also Read: How To Increase Pressure In RO Filters
? Frequently Asked Questions
1. Why do we need to sanitize RO systems?
We buy a reverse osmosis water filter to ensure a constant supply of contaminant-free water. Considering this, we must sanitize the source: the RO system, from where we get the clean water.
Not only this, periodic cleaning results in a low maintenance cost and longer lifespan. The reason is that bacteria and other unwanted particles are eliminated from the system, ensuring that the inside is protected.
2. How often to sanitize the reverse osmosis system?
So, there can be two situations. One situation can be where you get the indications like weird odor and poor taste. These indications act as alarms that your RO system needs cleaning. However, in the second situation, you will not get any such alarm or signal.
So, it is always recommended to clean the reverse osmosis system once every 12 months. Remember this: you can do the sanitization process whenever you replace the filters, as the filters usually have a year’s lifespan.
3. What is the life of the RO membrane?
Usually, the lifespan of a reverse osmosis membrane is approximately five years. It can be more or less depending on the frequency of usage and water quality.
Despite a long lifetime, periodical sterilizing of the membrane is quite essential. Regular cleaning and sanitization can substantially increase the lifespan of the RO membrane.
4. Can bacteria grow in an RO water tank?
Definitely, it has been recently found that bacteria can develop inside a reverse osmosis tank. It is considered an ideal place for bacterial growth and multiplication, if not disinfected regularly.
Therefore, it is crucial to clean the RO storage tank frequently so as to ensure that the water consumers do not fall ill by drinking contaminated water.
5. What happens if you do not change the RO filter?
If you do not change the reverse osmosis filters on time, it will have serious drawbacks. Firstly, the old filter will not work efficiently, resulting in a blocked membrane. Due to the inefficient working of filters, impurities will enter the membrane and clog it, which will result in a decrease in water pressure.
All this will affect the lifespan of the reverse osmosis system and will be proven heavy on your wallet. Moreover, due to suspended impurities and contaminants freely moving in water, consumers’ health will be in danger.
So, it is better to take the advice and replace the filters whenever recommended. Otherwise, it will cost you more money and adversely affect your health.
Adarsh is a Health & Nutrition Sciences graduate with expertise in environmental health. He is associated with ventures like Glacier Fresh Filter and Simpure Filter Systems. Through Aqua Professor, he intends to provide helpful information to every home to help them make smarter decisions.
